The Epoxy Flooring Installation Process: A Step-by-Step Guide by Florida Epoxy Flooring
Epoxy flooring is a popular choice for both residential and commercial spaces in Florida due to its durability, aesthetic appeal, and ease of maintenance. At Florida Epoxy Flooring, we pride ourselves on delivering high-quality epoxy floor installations that stand the test of time. If you’re considering epoxy flooring for your home or business, understanding the installation process is crucial. In this blog, we'll walk you through the step-by-step process of epoxy flooring installation, ensuring you know what to expect when you choose Florida Epoxy Flooring for your next project.
1. Surface Preparation
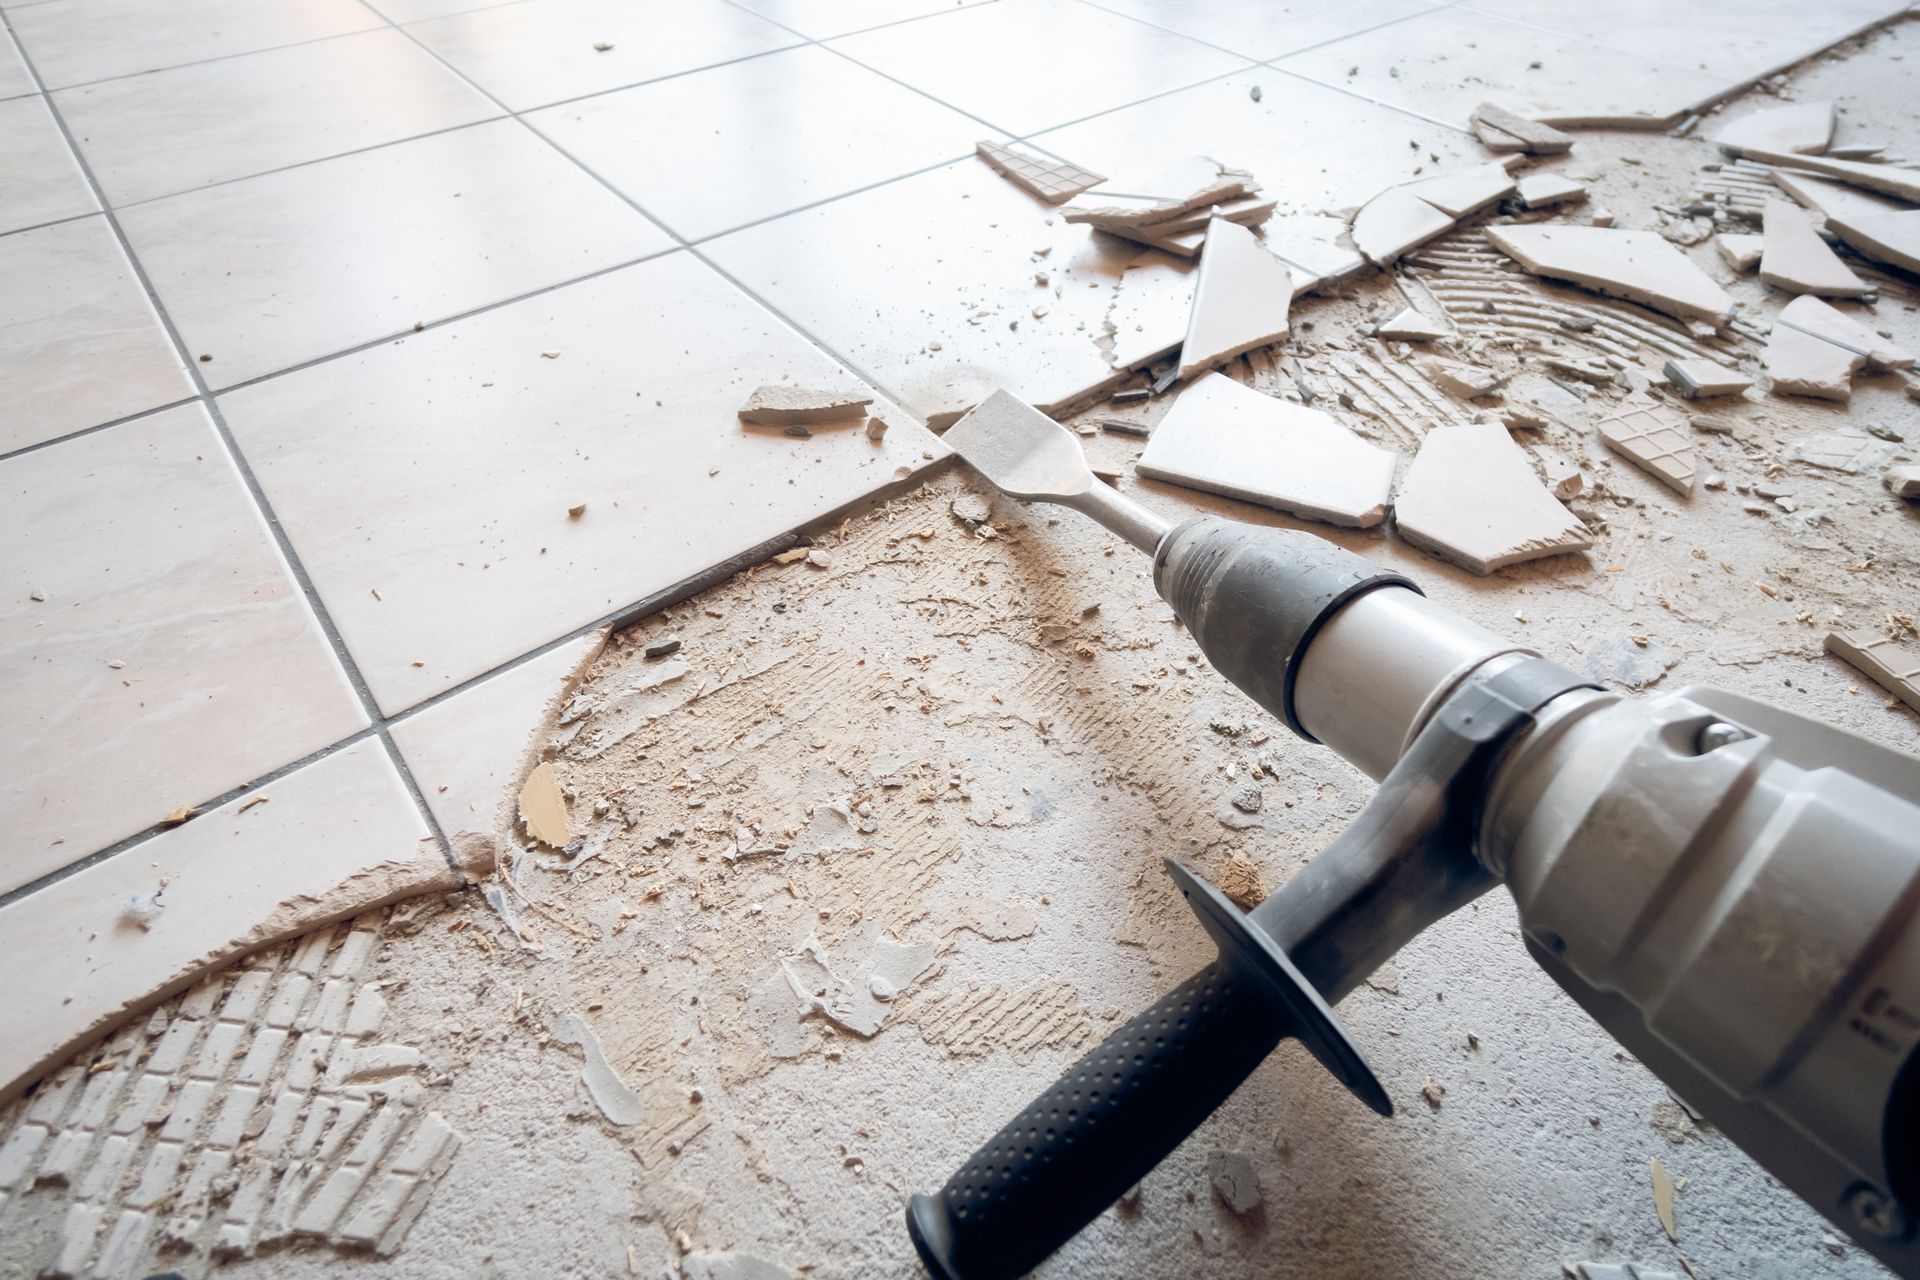
The foundation of a successful epoxy flooring installation lies in thorough surface preparation. This step is crucial for ensuring the epoxy adheres properly to the floor, resulting in a durable and long-lasting finish.
Steps Involved:
- Cleaning: The floor is thoroughly cleaned to remove dirt, dust, grease, and any existing coatings.
- Repairs: Any cracks, holes, or imperfections in the concrete are repaired using a suitable patching material.
- Grinding or Shot Blasting: The surface is mechanically prepared using grinding or shot blasting to create a rough texture, allowing the epoxy to bond effectively.
- Vacuuming: The area is vacuumed to remove any remaining debris and dust from the preparation process.
2. Priming the Floor
Once the surface is prepared, the next step is to apply a primer. Priming is essential for improving the adhesion of the epoxy and ensuring a smooth, even finish.
Steps Involved:
- Mixing the Primer: The primer is mixed according to the manufacturer's specifications to ensure proper consistency.
- Application: The primer is applied using rollers or brushes, covering the entire surface evenly.
- Curing Time: The primer is left to cure for the recommended amount of time, usually around 6-8 hours, depending on environmental conditions.
3. Applying the Epoxy Base Coat
The epoxy base coat is the first layer of epoxy applied to the floor. This coat sets the foundation for the flooring system and determines the color and overall appearance of the floor.
Steps Involved:
- Mixing the Epoxy: The epoxy resin and hardener are mixed together according to the manufacturer's instructions.
- Pouring and Spreading: The mixture is poured onto the floor and spread evenly using rollers, squeegees, or trowels.
- Self-Leveling: Epoxy is a self-leveling material, which means it will naturally settle into an even layer, creating a smooth and seamless surface.
- Curing Time: The base coat is allowed to cure for 12-24 hours before proceeding to the next step.
4. Adding Decorative Elements (Optional)
For those looking to enhance the visual appeal of their epoxy floor, decorative elements such as flakes, metallic pigments, or quartz can be added. These elements are embedded into the wet epoxy to create a unique, customized look.
Steps Involved:
- Broadcasting Decorative Flakes/Pigments: Decorative flakes or pigments are broadcast evenly across the wet epoxy surface.
- Even Distribution: The flakes are distributed until the desired coverage is achieved, ensuring an even and consistent appearance.
- Removing Excess Flakes: Once the epoxy has partially cured, any excess flakes are removed, and the surface is lightly sanded for smoothness.
5. Applying the Topcoat
The topcoat is the final layer of the epoxy flooring system. It provides additional protection, enhances the floor's durability, and gives the floor its final glossy or matte finish.
Steps Involved:
- Mixing the Topcoat: The topcoat mixture is prepared according to the manufacturer’s guidelines.
- Application: The topcoat is applied evenly across the surface using rollers or brushes, ensuring complete coverage.
- Curing: The topcoat is left to cure for 24-48 hours, depending on the environmental conditions and the type of topcoat used.
6. Final Inspection and Cleanup
Once the epoxy floor has fully cured, a final inspection is conducted to ensure the installation meets the highest standards. Any imperfections or inconsistencies are addressed, and the floor is thoroughly cleaned.
Steps Involved:
- Inspection: The floor is inspected for any imperfections, such as bubbles, rough spots, or uneven areas.
- Touch-Ups: If necessary, minor touch-ups are performed to achieve a flawless finish.
- Final Cleanup: The area is cleaned, and the floor is ready for use.
Why Choose Florida Epoxy Flooring?
At Florida Epoxy Flooring, we are committed to delivering exceptional results on every project. Our team of experienced professionals uses top-quality materials and the latest techniques to ensure your epoxy flooring is not only beautiful but also durable and long-lasting. We take pride in our meticulous attention to detail and dedication to customer satisfaction.
Contact Florida Epoxy Flooring today to learn more about our epoxy flooring services or to schedule a consultation. Let us transform your space with a stunning epoxy floor that will stand the test of time.


